KAFKA Basics
- Kafka at Scale: Advanced Security, Multi-Cluster Architectures, and Serverless Deployments
- Mastering Kafka Streams: Complex Event Processing and Production Monitoring
- Mastering Kafka: Cluster Monitoring, Advanced Streams, and Cloud Deployment
- Advanced Kafka Configurations and Integrations with Data-Processing Frameworks
- KAFKA Basics
Apache Kafka has transformed the world of data streaming and event-driven architectures. In this blog, we’ll dive into Kafka’s fundamentals and build a step-by-step sample project to demonstrate its capabilities. This project will showcase Kafka’s distributed nature and streaming potential, giving you a practical approach to setting up, running, and testing a Kafka cluster on macOS.
Table of Contents
- Kafka Basics
- Installing Kafka on macOS
- Basic Operations
- Sample Project: Kafka Real-Time Data Pipeline
- Conclusion and Next Steps
Kafka Basics
What is Kafka
Apache Kafka is a distributed publish-subscribe messaging system and a robust queue capable of handling high volumes of data. Built with scalability, reliability, and low-latency streaming in mind, Kafka can handle real-time data feeds in enterprise environments. Kafka’s unique storage layer makes it suitable for both offline and online message consumption by persisting messages on disk and replicating them within a cluster.
Kafka System Architecture

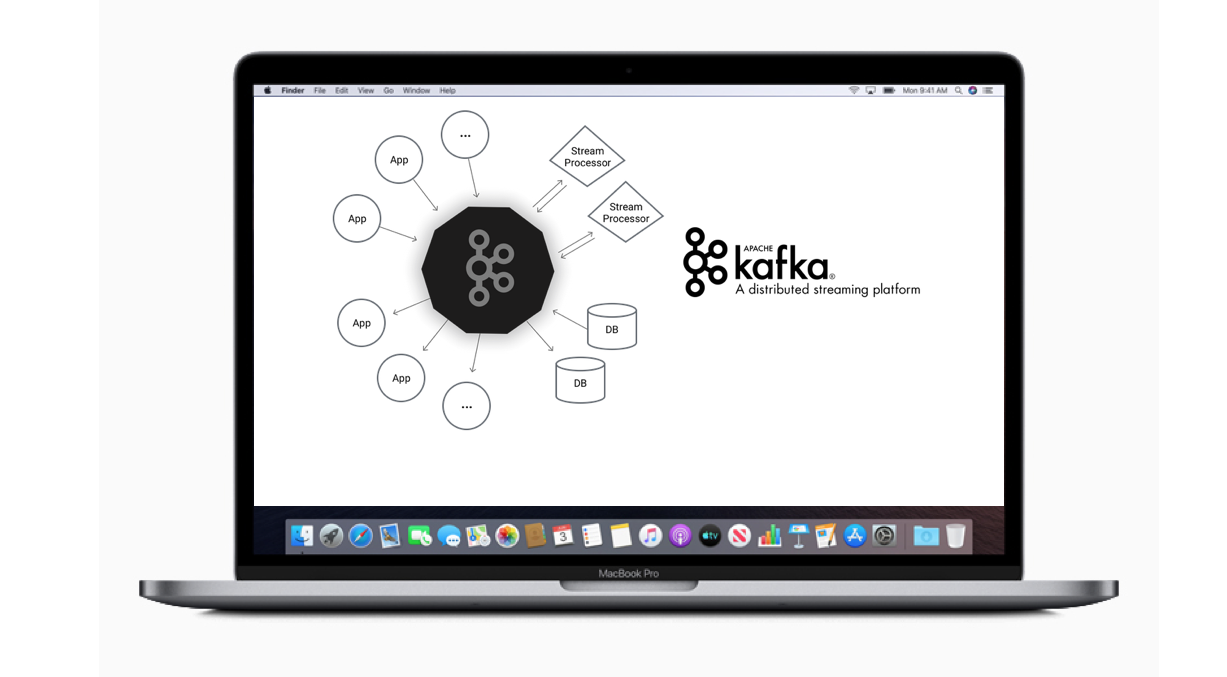
Kafka’s distributed architecture enables it to run as a cluster across multiple servers. It organizes messages into topics, where each message consists of a key, value, and timestamp. Kafka’s architecture includes:
- ZooKeeper: For managing Kafka brokers.
- Brokers: Handle data storage and distribution across the cluster.
- Producers: Publish messages to Kafka topics.
- Consumers: Subscribe to topics to process messages.
Kafka API
Kafka offers four core APIs:
- Producer API: Publishes streams of records to topics.
- Consumer API: Subscribes to topics and processes records.
- Streams API: Processes and transforms data within Kafka.
- Connector API: Integrates Kafka with external systems.

Why Kafka
Kafka’s popularity stems from its robustness:
- Reliability: Kafka’s fault-tolerant, distributed nature makes it reliable for high-volume applications.
- Scalability: Kafka can scale horizontally without downtime.
- Durability: Kafka’s distributed commit log ensures data persistence.
- Performance: Kafka achieves high throughput for publishing and subscribing, even with TBs of data.
Installing Kafka on macOS
To install Kafka on macOS using Homebrew:
If you lack ZooKeeper, this standalone Kafka installation will include the required dependencies.
To update Kafka, run:
Basic Operations
Starting Kafka and ZooKeeper
Kafka requires ZooKeeper to coordinate between brokers. Start ZooKeeper:
Now, start Kafka:
Or start it explicitly from the Kafka directory:
Creating a Topic
To create a topic for storing messages, run:
This command configures my-kafka-topic with 3 partitions and a replication factor of 2.
Sample Project: Kafka Real-Time Data Pipeline
In this project, we’ll set up a basic real-time data pipeline using Kafka producers and consumers to simulate data flow through a Kafka topic. The goal is to send streaming data from a producer and receive it with a consumer in real-time.
Project Structure
- config/: Configuration files for Kafka brokers.
- scripts/: Scripts to start services and create topics.
- src/: Source code for the producer and consumer applications.
Step 1: Setting Up Brokers
To demonstrate Kafka’s distributed nature, configure three brokers:
-
Copy
config/server.propertiesthree times toserver.1.properties,server.2.properties, andserver.3.properties. -
Modify each file as follows:
-
server.1.properties
-
server.2.properties
-
server.3.properties
-
-
Run each broker in separate terminals:
Step 2: Creating a Producer
The producer application sends data to a Kafka topic.
DataProducer.java:
Step 3: Creating a Consumer
The consumer application reads data from the Kafka topic.
DataConsumer.java:
Testing the Kafka Pipeline
- Start Producer: Run
DataProducerto send messages tomy-kafka-topic. - Start Consumer: In another terminal, run
DataConsumerto consume messages. - Verify Output: Observe the consumer receiving messages in real-time.
Conclusion and Next Steps
In this blog, we’ve covered Kafka’s architecture, installation, and a real-time data pipeline project. For advanced exploration, consider adding multiple consumers, experimenting with different partition counts, and testing real-time data transformations using Kafka Streams.
Apache Kafka remains a powerful, adaptable tool in data streaming, and this project demonstrates its potential in a scalable, distributed setup. Future blogs will dive deeper into advanced Kafka configurations and integrations with other data-processing frameworks.


